Blog: LED lighting and lighting design
Exploring the relationship between LED lighting, lighting design and the characteristics of LEDs

Sometimes the difference isn’t the fitting - its just 2°. The beam angle is often overlooked, but is a really powerful technical decision in lighting design. It’s the difference between a sharp line and a soft glow, really impacting the feel of a room.
So, what is the beam angle? The beam angle is the spread of light from a fitting or light source and its measured in degrees. If you have a narrow angle, the light is sharp and concentrated. It follows that a wide angle creates a softer, broader spread.
For example, if you think about a torch vs a floodlight, sharp and narrow vs soft and wide. Therefore the smaller the number the tighter, brighter light and the larger the number the more diffused the effect created.
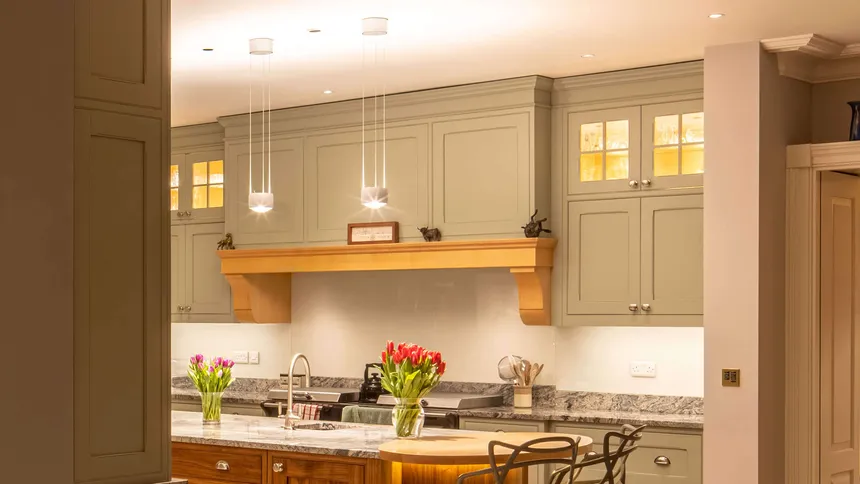
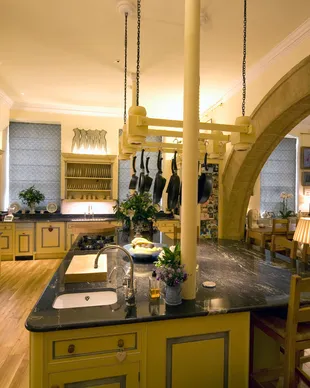
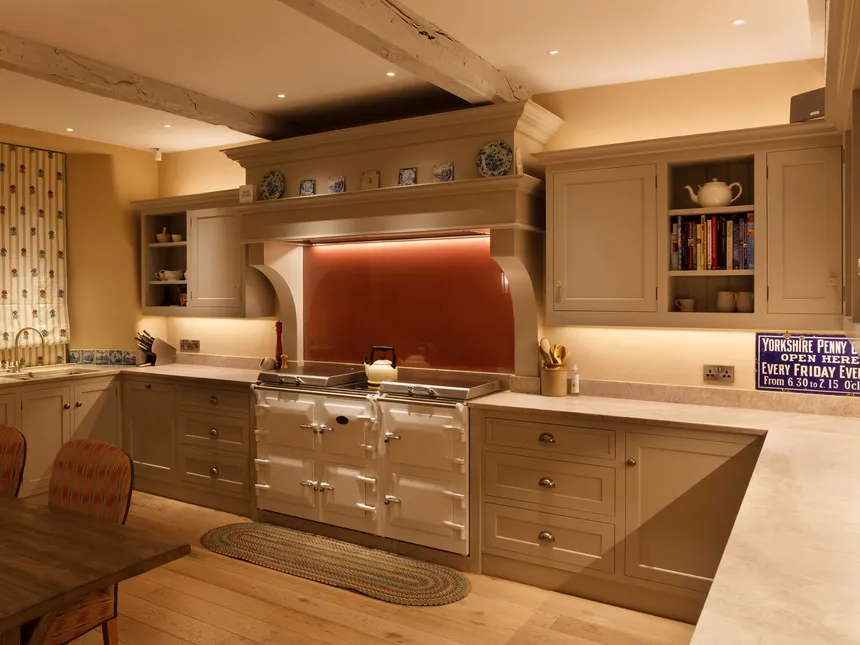
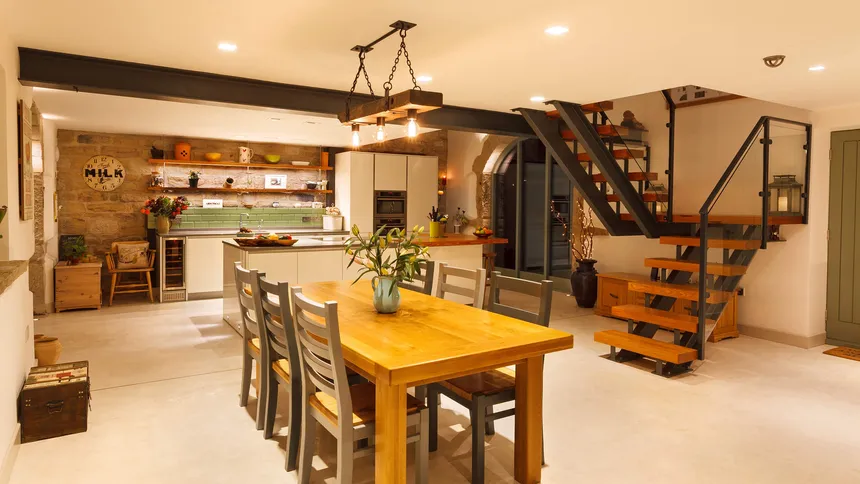
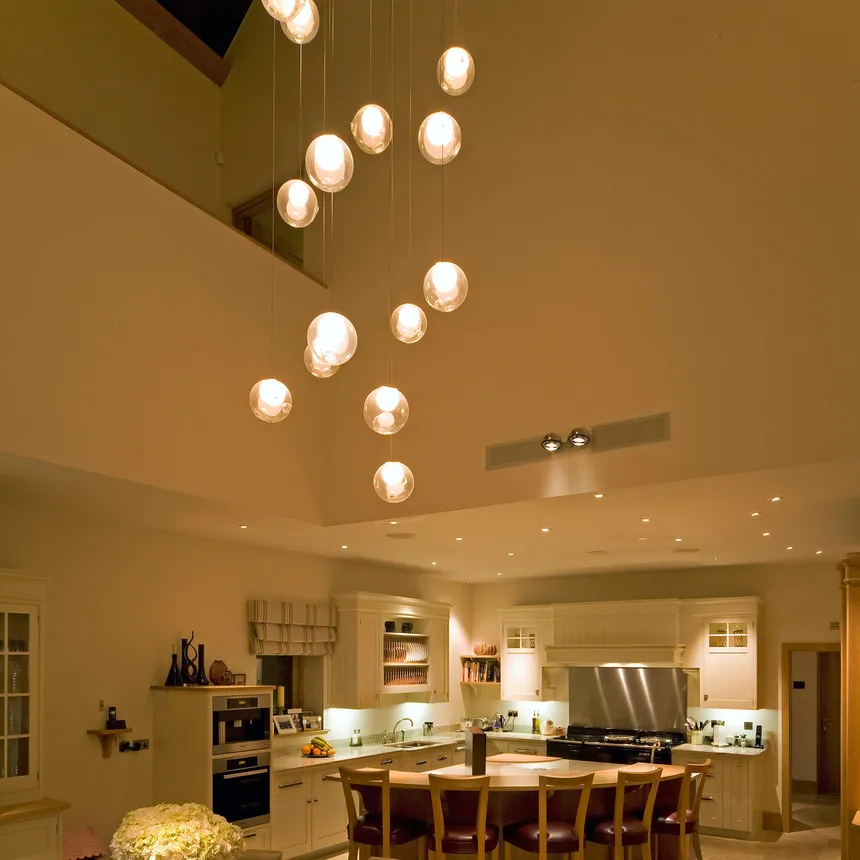
Imagine two kitchens, they are identical, the design, layout, appliances, the light fittings, even their colour temperature, but they feel completely different. Why?
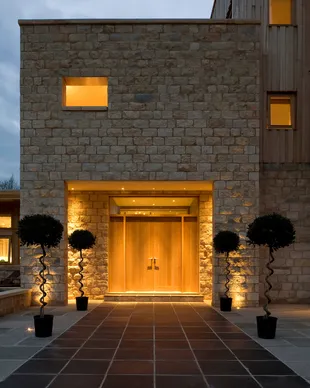
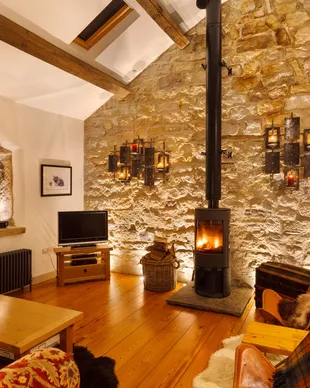
This all means we use different beam angles for different applications. Are you lighting a sculpture or a room? A stairwell or a window reveal? Every situation requires a different treatment, and the decision really matters.
What do we use where? I hear you ask, well a guide would be as follows:
This is where the 2° really starts to matter, when mounting a light at 3m that small difference equates to cm’s of coverage on the ground. This means that it could spill out from the cabinetry you’re highlighting or the artwork or the flooring. Also remember it alters the intensity of the light, in turn affecting the glare and shadow and most importantly in lighting design, the overall mood. Let’s have a look at a few examples so we can really see what this means in real life.
Let’s have a look at some examples.
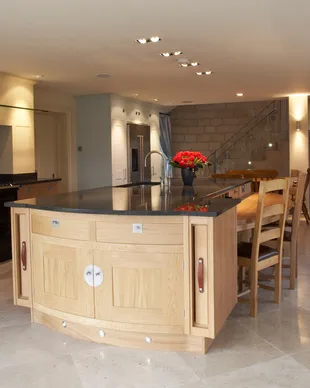
Going back to the kitchen, using a narrow 24° beam on the island creates focused pools of light whereas use a 36° beam, and you’ll get a softer wash. So where does the small difference come in? 24° vs 26°, this changes the edge of the shadow making the light finish with the architecture or spill over the edges. This changes the feeling from sharp architectural to a relaxed modern feel.
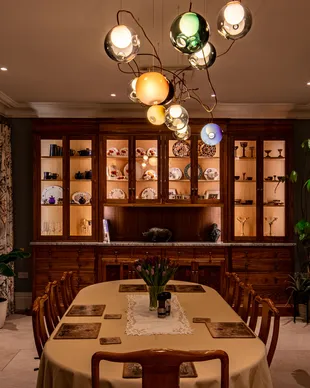
Artwork lighting has very specific needs, if the beams too wide the light will wash the wall and lose the drama. Conversely, if the beam is too focused this will create a hotspot and therefore glare on the picture, obscuring the image. A slight tweak of the angle makes all the difference between the effect on each picture.
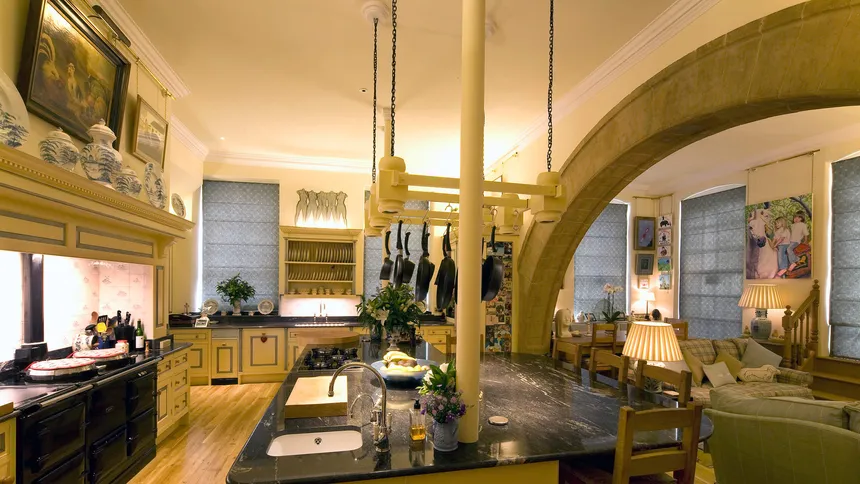
This is where we think about the space and how it is designed to make sure we use the correct option. We consider ceiling height, surface finishes, how the room functions and where are the various viewing angles going to be. We then craft the light in a way to accentuate all of these and work with the space to create some magic.
Why does the beam angle so often get missed? Many off the shelf fittings don’t give you an option, it’s one for all. They prioritise the lumen output and colour temperature which means often your electrician does the same and just defaults to the standard beam angles.
The craft of getting it right is in the testing and the tweaking. On a plan, a beam angle looks like a number - but on site it becomes shadow, contrast, and comfort. We’ll often trial a couple of optics in the real space, at the real ceiling height, against the actual finishes, then adjust aim and spacing until the light lands exactly where it should. Most rooms need a mix: tighter beams to pick out features and add depth, and wider spreads to soften transitions and lift the overall ambience. Great lighting isn’t accidental - it’s engineered, then refined.
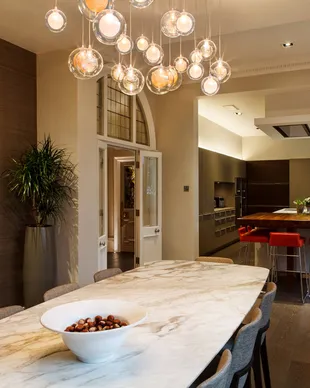
Now we need to really make the design sing. We’ve built up layers and design using the different beams and we hone these on site, adjusting the angles where each fitting is pointed to make sure the light hits just right. This is when the combination of narrow accents with wider ambient lighting comes into its own.
A 2° change sounds tiny on paper - but in a finished room it can be the difference between crisp, intentional pools of light and a softer, more relaxed wash. Beam angle quietly controls what you notice, where shadows fall, and how comfortable the space feels. If you’re unsure which direction to go, it’s worth testing and fine-tuning rather than defaulting to standard.